1. Navigate to https://events.bible.com/
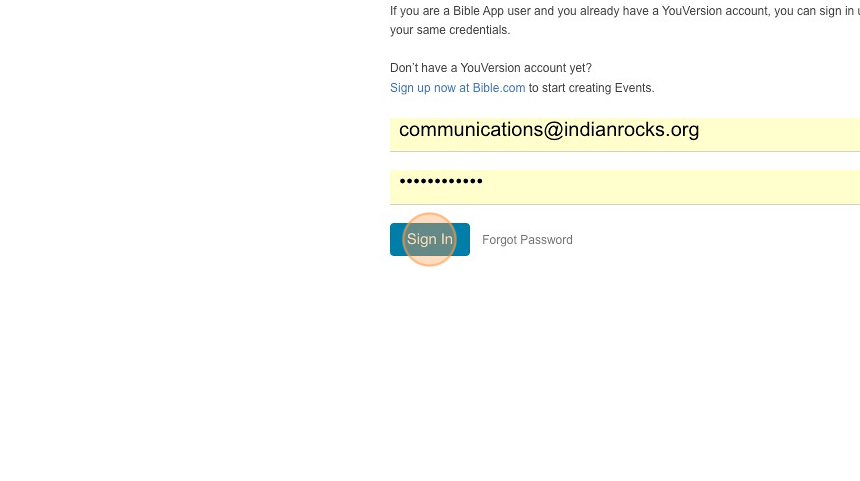
2. Sign in using the Communications email and password
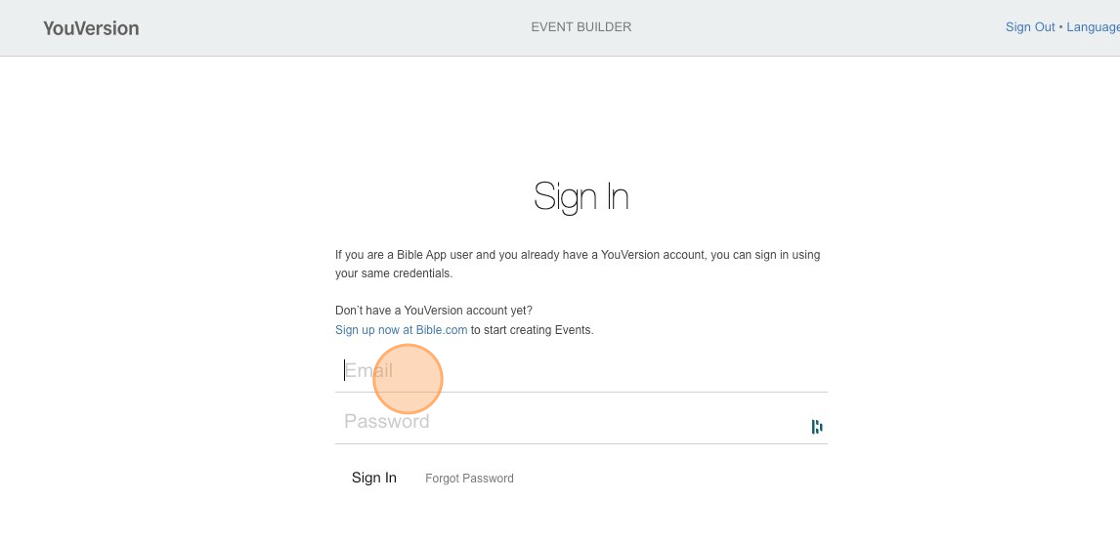
3. Click “Sign In”
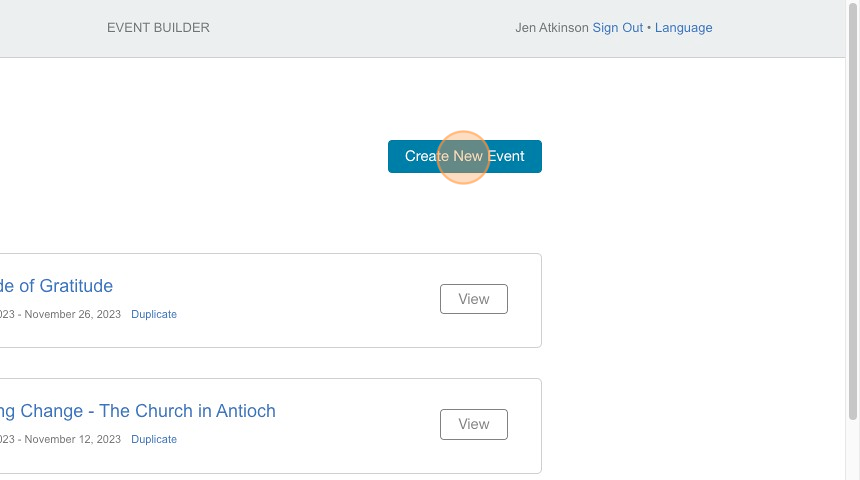
4. Click “Create New Event”
5. Click the “Event Name” field.

6. Type “Message Title”
7. Click the “Church Name or Organization” field.
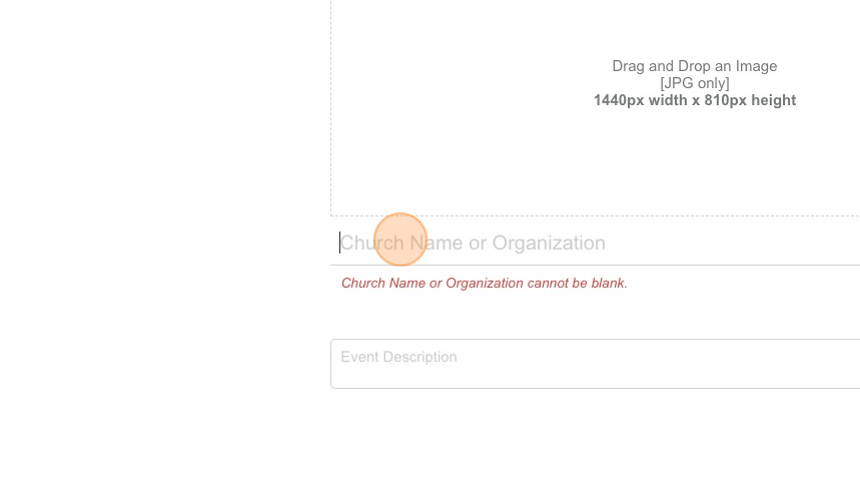
8. Type “Indian Rocks Baptist Church”
9. Click here.
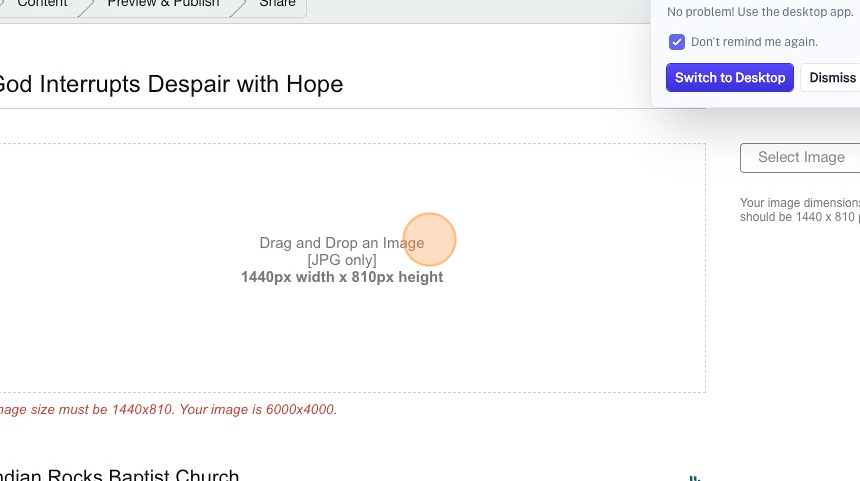
10. Click “Next: Add Location & Times →”
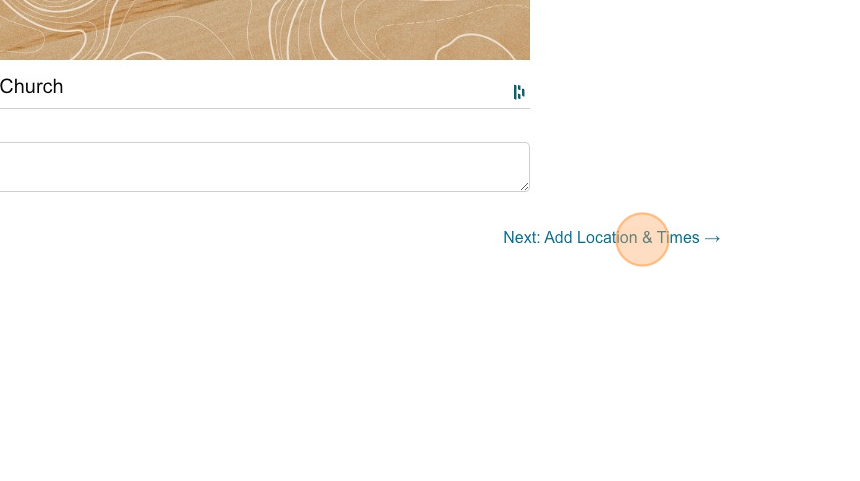
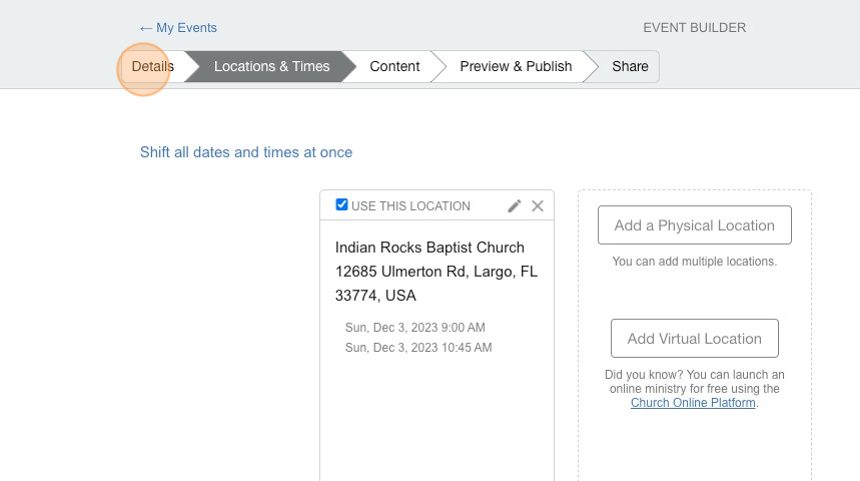
11. Click “Add at least one time.”
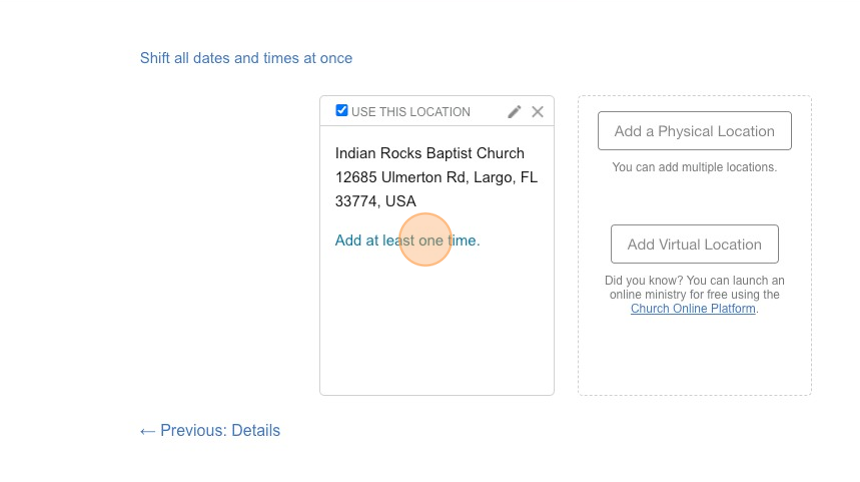
Tip: Sometimes the times can already be entered, but it’s best to verify that the dates and times are correct every time. These are very important as they determine when it shows up in the Bible app.
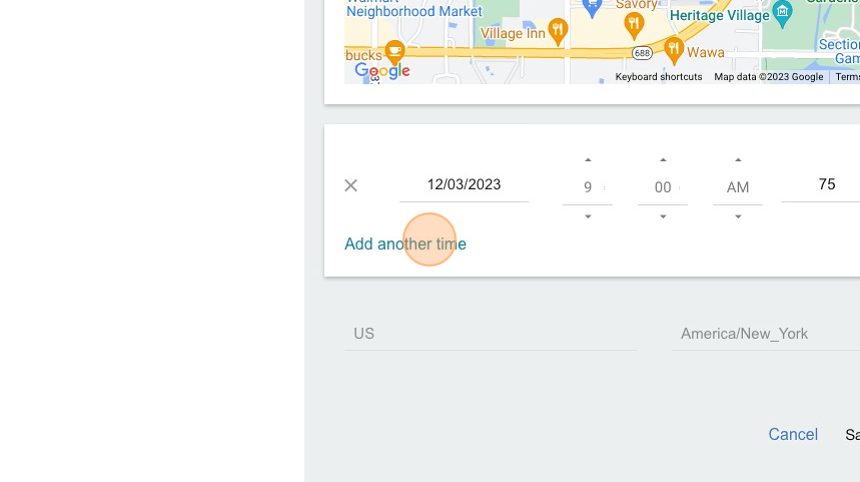
12. Click “Add another time”
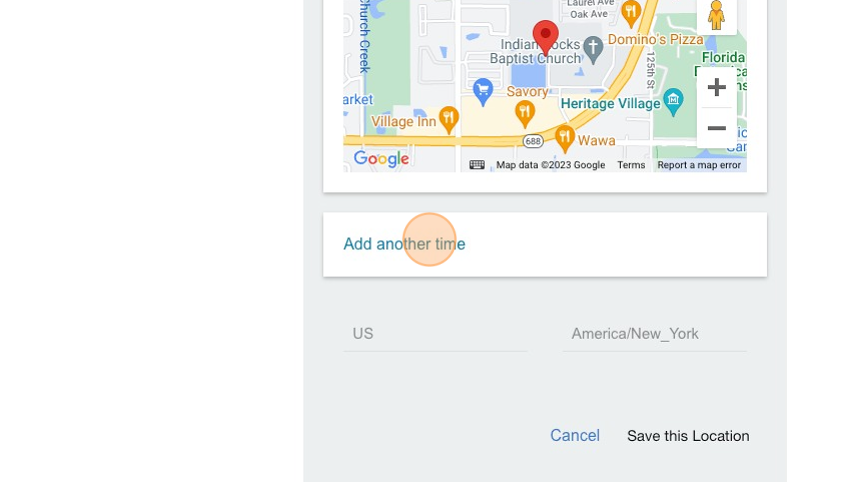
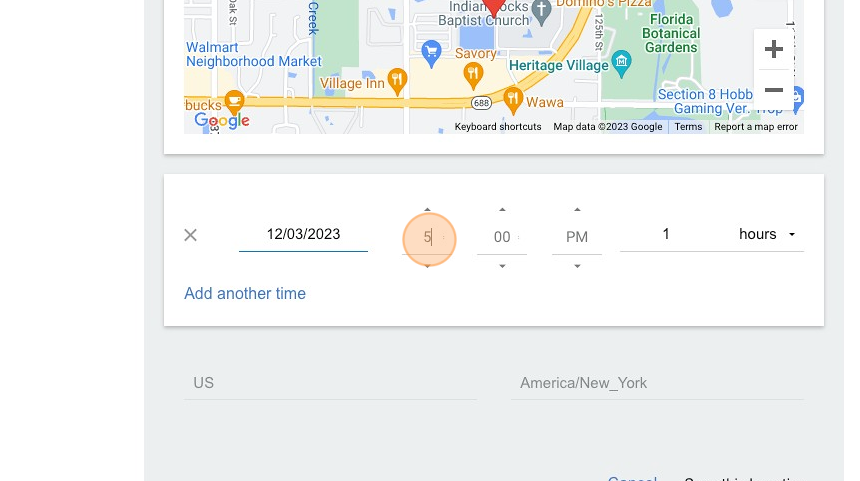
13. Click the “Start Date” field and choose the date
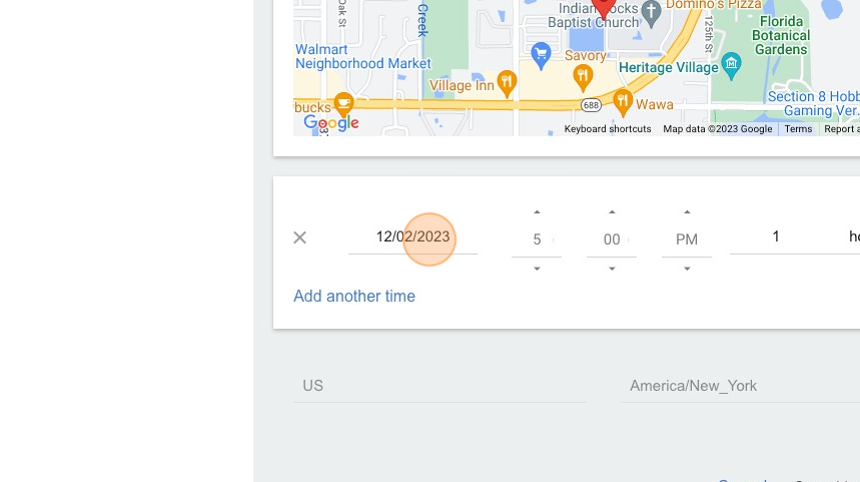
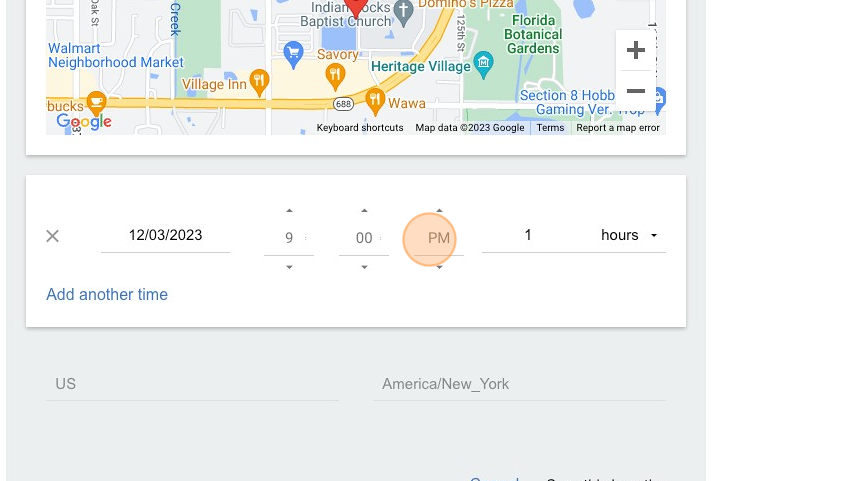
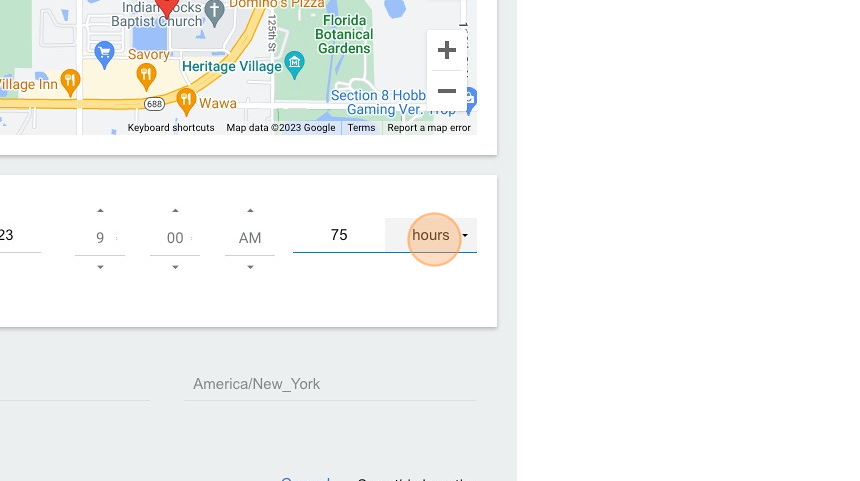
14. Specify the service time in hours and minutes.
15. Check that the AM/PM option is set correctly for the service time.
16. Set the duration of the service.
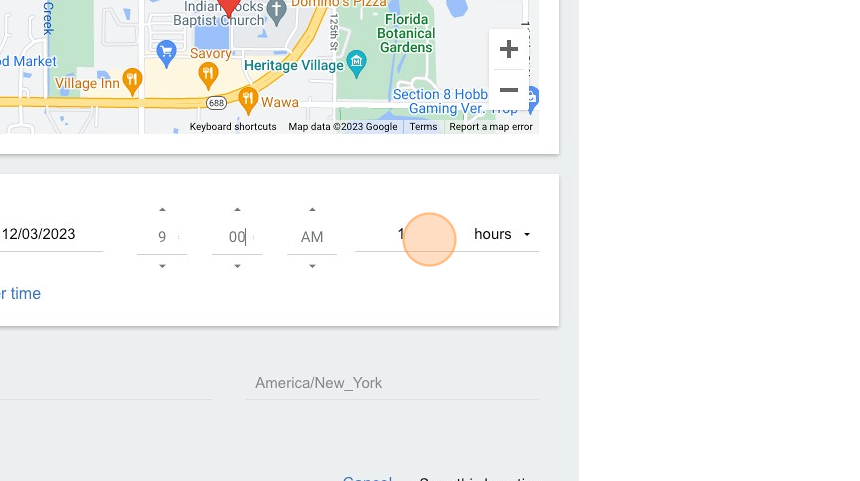
17. Make sure you set the appropriate unit of time.
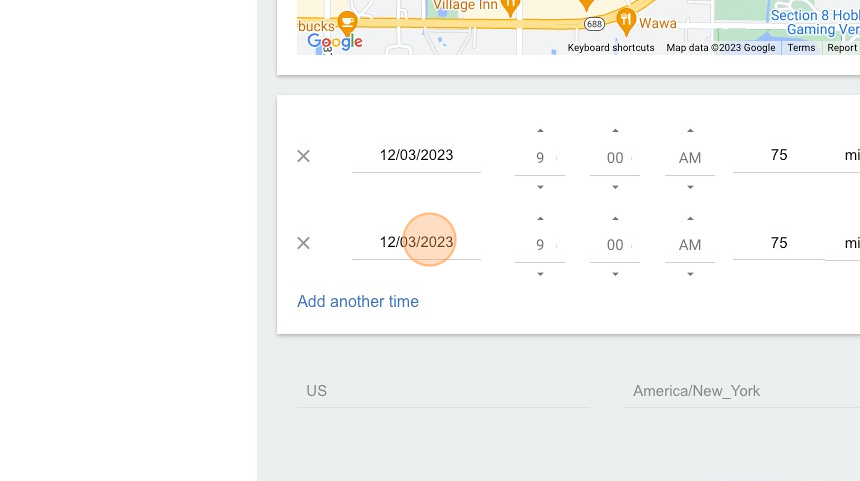
18. Click “Add another time”
19. Repeat steps 13-18 for each service time.
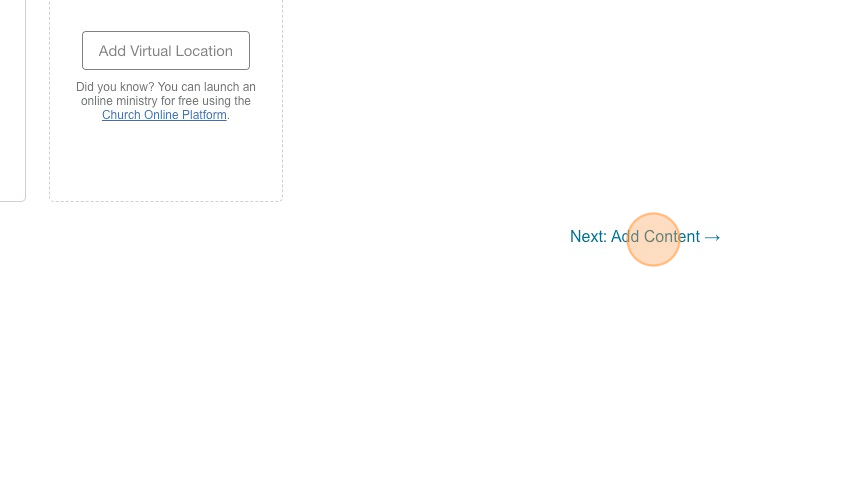
20. Click “Next: Add Content →”
Tip: This next set of steps varies depending on the message content. Here are some things to note:
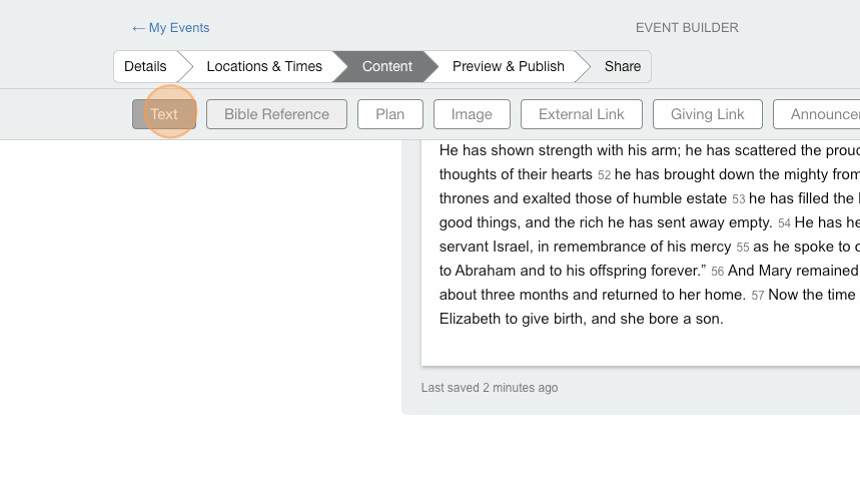
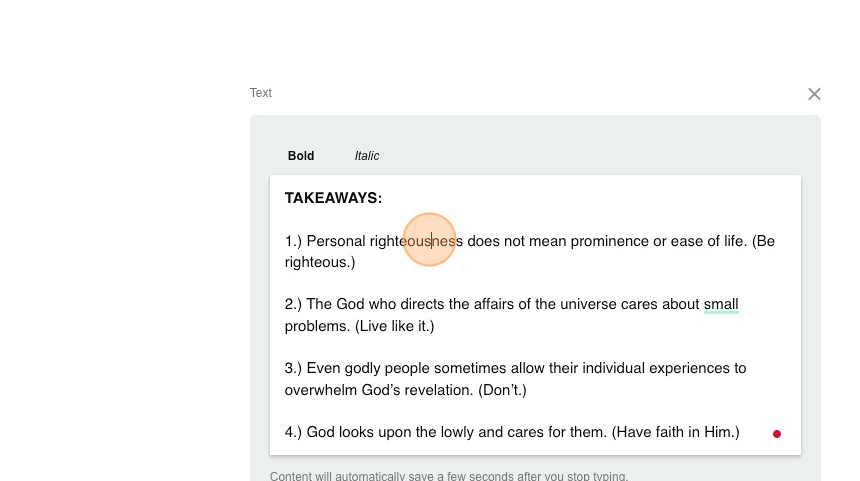
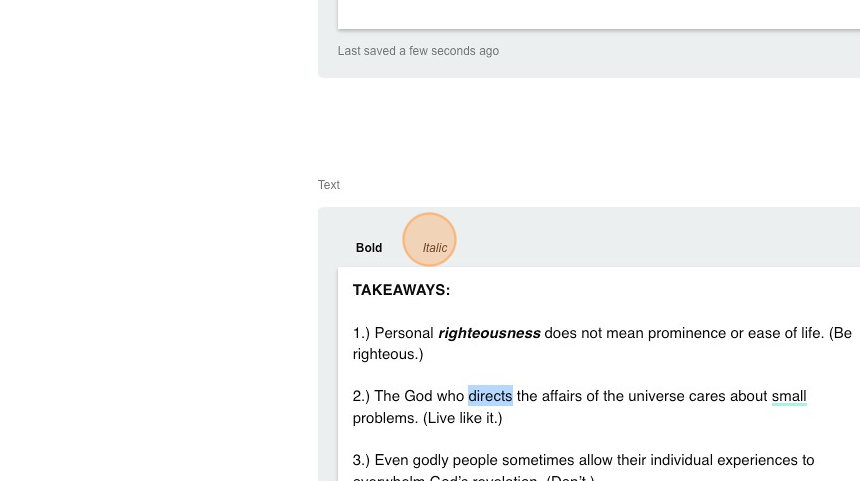
- Use the “Text” module for headings, points, takeaways, etc.
- Use the “Bible Reference” module for any scripture.
- Only one scripture section is permitted per Bible Reference module. For example, you can input “John 1:5-12” but not multiple passages like “John 1:5-12 and 2:1-4.”
- It is not possible to extend the reference from the end of one chapter into the next, e.g., referencing “Matthew 28:18-20 and 1:1-4” in a single entry.
- The Bible app does not support using a semicolon to separate different parts within the same chapter, e.g., you cannot input “Luke 15:20-24; 31-33.”
- Make sure to set the bible version correctly.
- Use “Image” and “External Link” sparingly and only for elements directly tied to the message content. Images work well for illustrations or depictions but never use these for advertising or promoting programs.
21. Click to insert the appropriate module for your message content
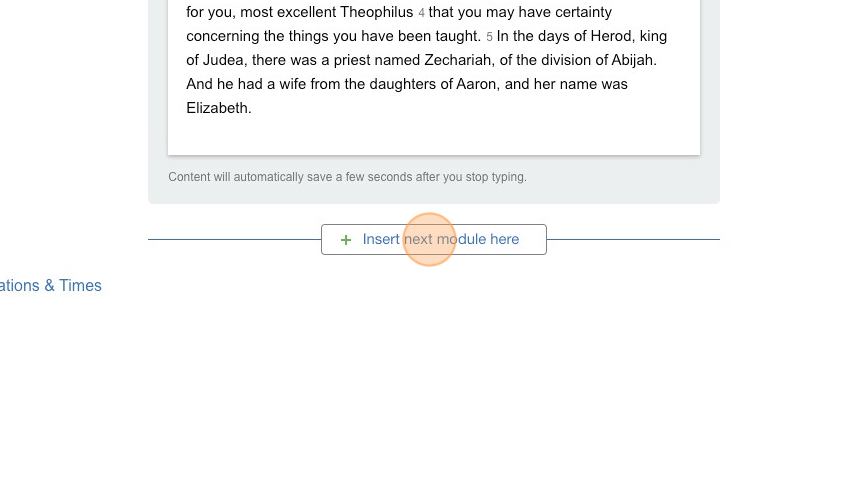
22. In between modules you can choose to insert the next module by hovering and clicking “Insert next module here”
23. For any words that are fill-in-the-blanks in the Listening Guide, highlight them and make them BOLD and ITALIC
24. Click “Bold”
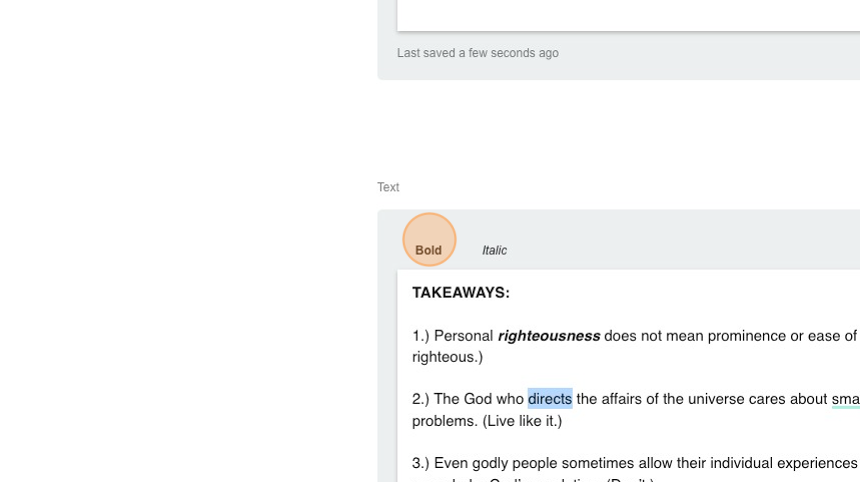
25. Click “Italic”
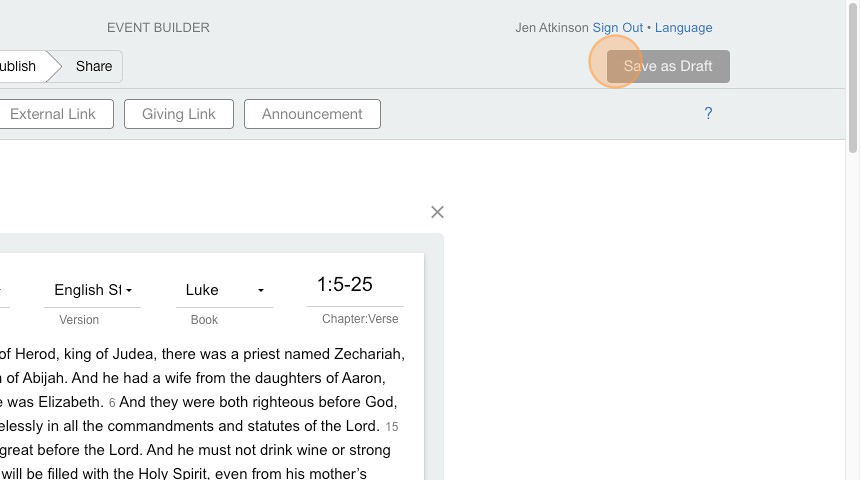
26. Click “Save as Draft”
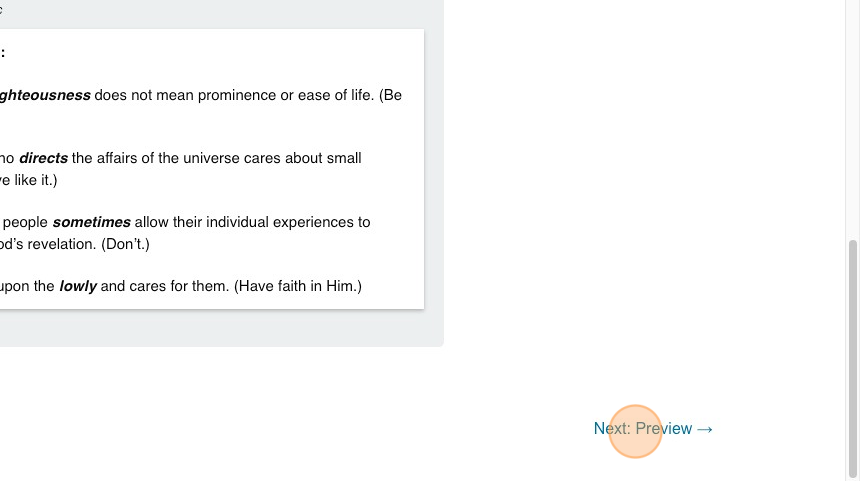
27. Click “Next: Preview →”
Tip: It’s always a good idea to go back and verify that the dates, times, graphics, content, etc. are all correct.
28. Click “Locations & Times”
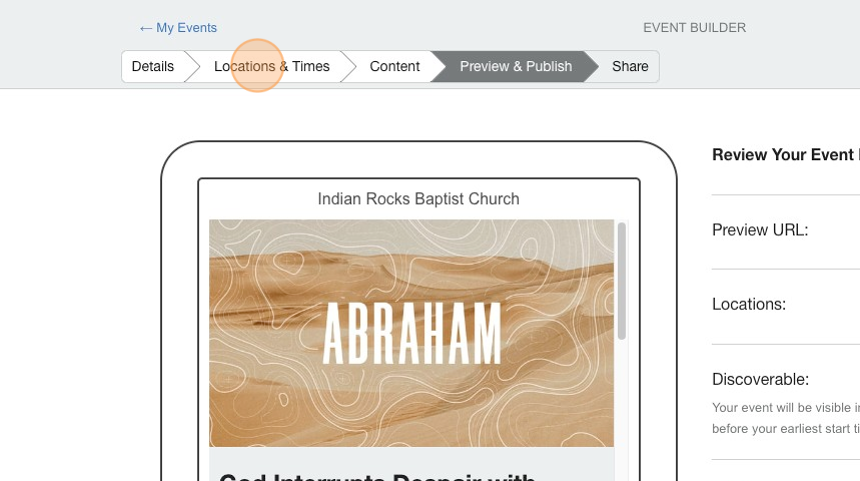
29. Click “Details”
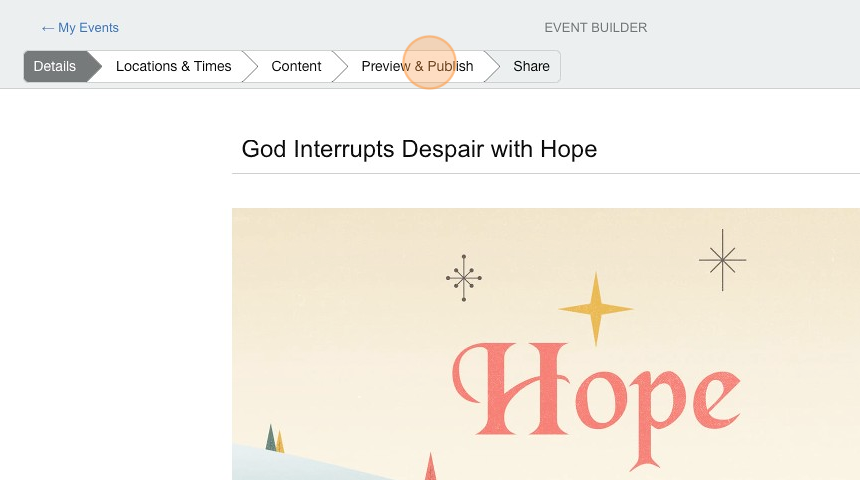
30. Click “Preview & Publish”
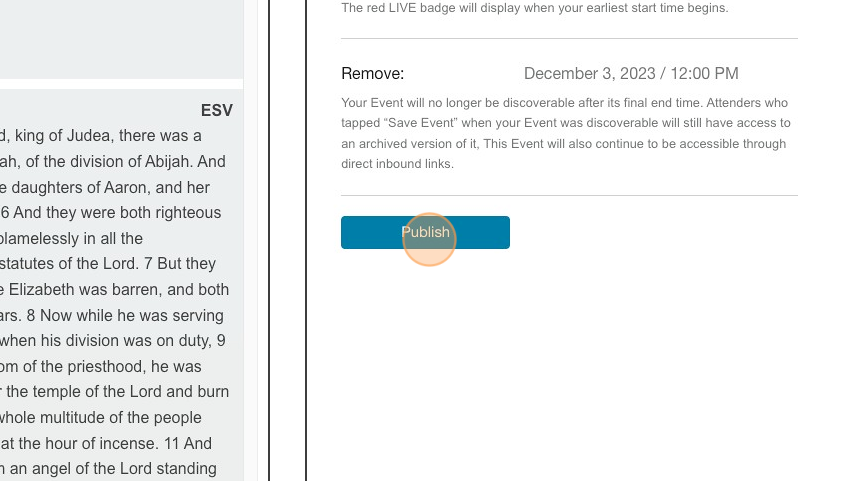
31. Click “Publish”
Tip: This next section is for updating the link indianrocks.org/notes with the latest link to the Bible app event we just created.
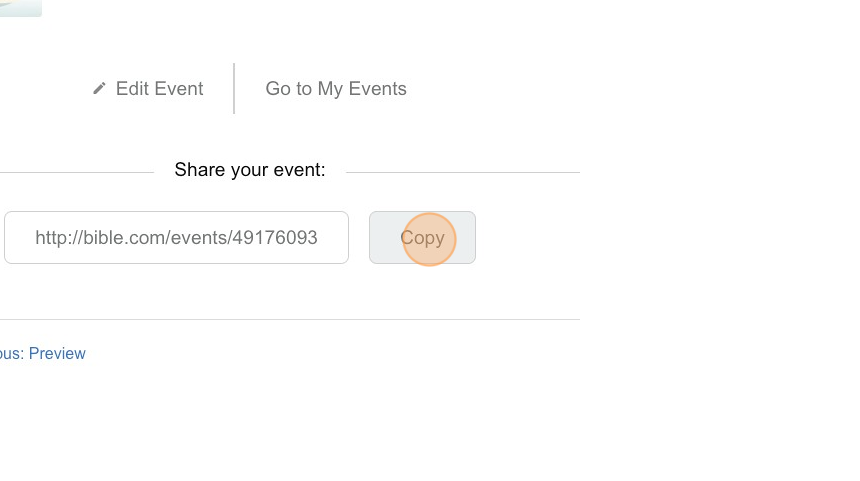
32. Click “Copy” to copy the Event URL
33. In a new tab, navigate to https://ir.church/shorturls
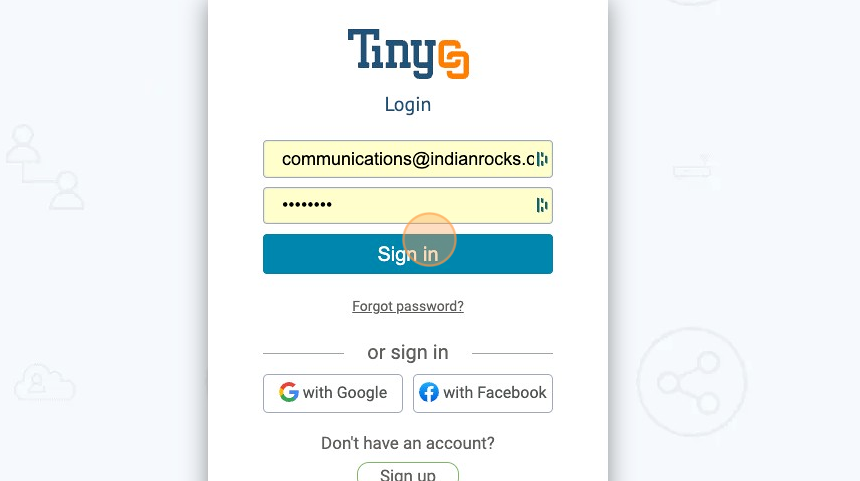
34. Click the “Email” field.

35. Login using the Communications@indianrocks.org credentials
36. Sign In
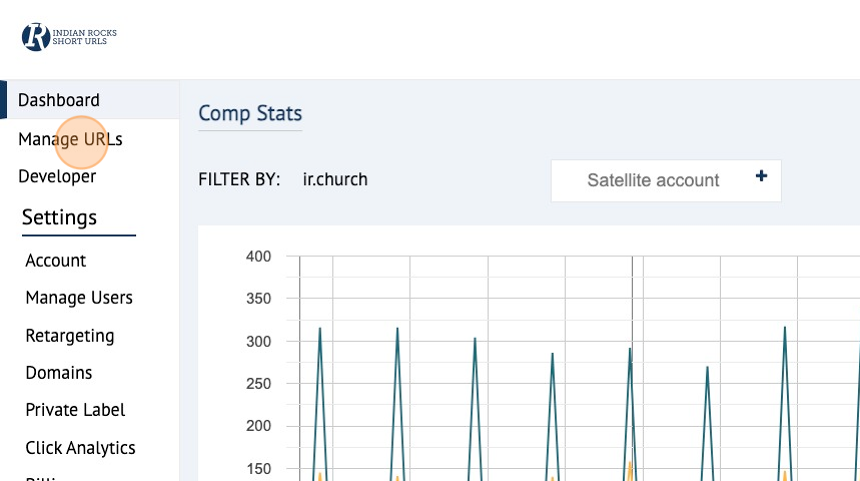
37. Click “Manage URLs”
38. Click the “Search” field.
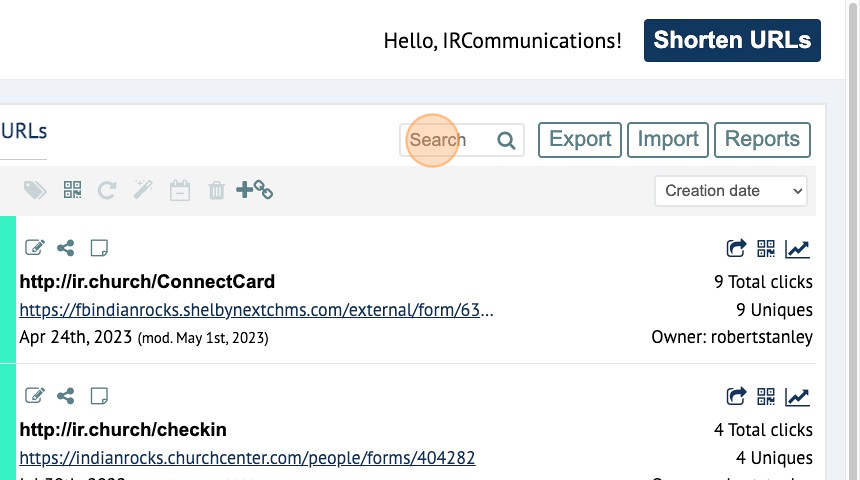
39. Type “note” and press [[enter]]
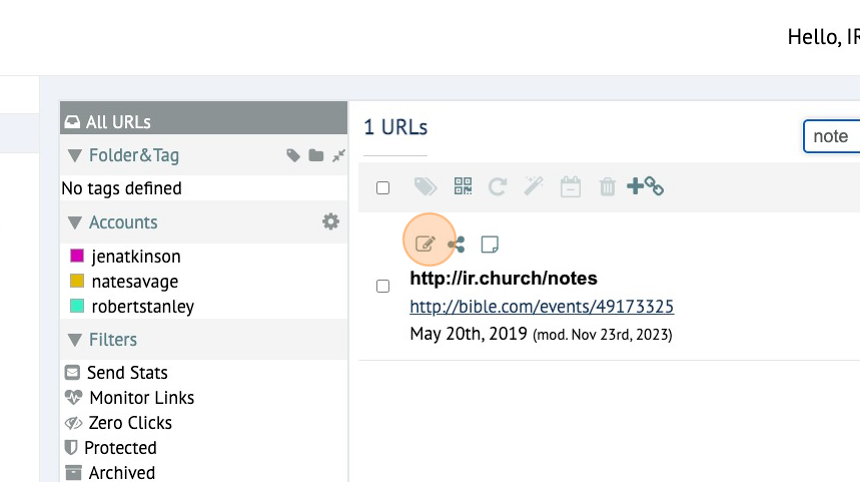
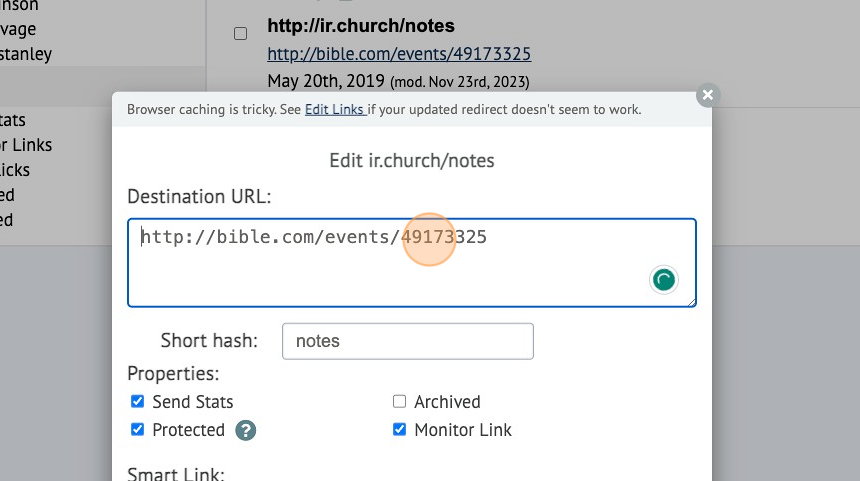
40. Click the writing icon to edit the link.
41. Click the “Destination URL:” field and paste the Bible Event URL copied above.
42. Save your changes.
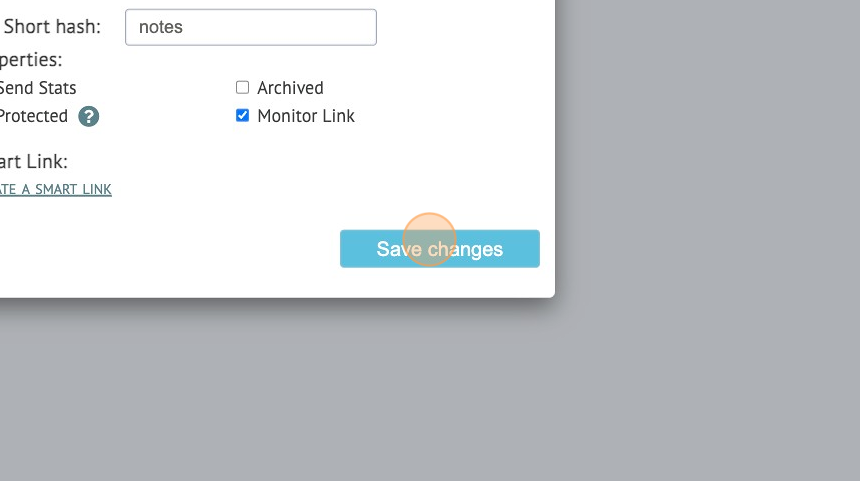
43. SUCCESS!